

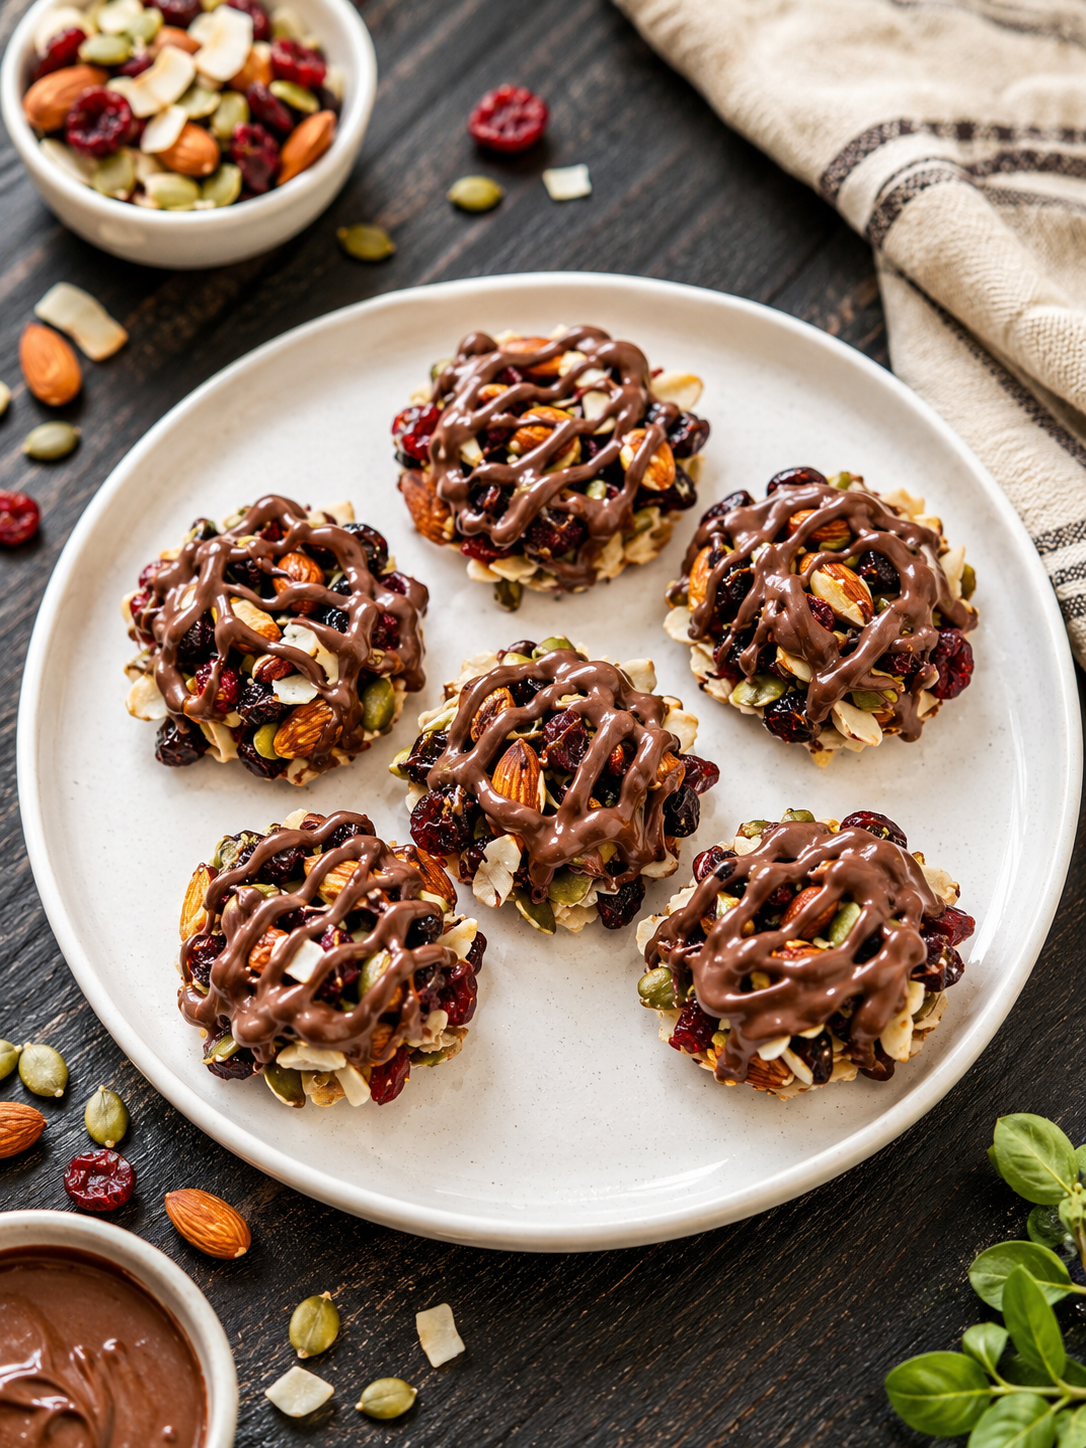
These clusters are a delicious way to help you enjoy your daily serving of nuts and seeds while satisfying those sweet cravings. Packed with healthy fats, fibre and natural goodness from nuts and dried fruit, they make a wonderful afternoon snack, lunchbox treat or after-dinner bite.
The combination of crunchy almonds and seeds, chewy dried fruit and smooth chocolate create a treat that feels indulgent while offering more nourishment than many packaged sweets.
Whether you’re preparing snacks for the family or looking for a simple homemade gift, these chocolate nut clusters are sure to become a favourite.
Recipe Details
| ⏱️ Prep Time | ❄️ Chill Time | ⌛ Total Time | 🍽️ Servings |
|---|
| 15 mins | 30 mins | 45 mins | 6 -8 Clusters |
Ingredients

- 2 cups superfood nut and fruit mix
- 2–3 tablespoons golden syrup
- 180 g milk chocolate, broken into pieces
You can also use a mixture containing:
- Almonds
- Pumpkin seeds
- Sunflower seeds
- Dried cranberries
- Raisins
- Goji berries
- Coconut flakes
Step-by-Step Instructions
Step 1: Prepare the Nut Mixture
Place the nut, seed, dried fruit and coconut mixture into a large mixing bowl.
If some of the nuts are very large, roughly chop them so the clusters are easier to shape and eat.
Step 2: Add the Golden Syrup

Add 2 tablespoons of golden syrup to the bowl. Mix thoroughly until the nuts, seeds and dried fruit are lightly coated and begin to stick together.
Add the remaining tablespoon only if the mixture still feels too dry to hold its shape.
Step 3: Shape the Clusters

Line a flat tray or large plate with baking paper.
Take a spoonful of the mixture and place it onto the lined tray.
Use the back of the spoon or clean hands to gently press it into a small round cluster.
Repeat until all the mixture has been used.
Step 5: Melt the Chocolate
Place the milk chocolate in a microwave-safe bowl.
Microwave in 20-second intervals, stirring after each interval, until the chocolate is smooth and completely melted.
Alternatively, melt the chocolate in a heatproof bowl placed over a saucepan of gently simmering water. Make sure the bowl does not touch the water.
Step 6: Drizzle with Chocolate

Using a spoon, drizzle the melted chocolate generously over each cluster.
You may cover only the tops or dip the bases into the chocolate for a richer treat.
Step 7: Chill Until Set
Return the clusters to the refrigerator for another 15–20 minutes, or until the chocolate has completely set.
Step 8: Serve
Carefully lift the clusters from the baking paper and serve chilled or at room temperature.
Store any remaining clusters in an airtight container in the refrigerator.
Helpful Tips
- Do not add too much golden syrup, as the clusters may become overly sticky.
- Chop very large almonds or coconut pieces for easier shaping.
- Use dark chocolate for a less sweet and richer flavour.
- For smaller portions, make mini clusters using a teaspoon.
- Keep the clusters refrigerated during warm weather.
- Use certified gluten-free ingredients when preparing them for someone with coeliac disease.
Storage
Store in an airtight container in the refrigerator for up to one week.
Place baking paper between the layers to prevent the clusters from sticking together.
Is This Recipe Gluten-Free?
The ingredients are naturally gluten-free, but packaged chocolate, dried fruit and nut mixes may be processed around gluten-containing products.
For a fully gluten-free recipe, use products clearly labelled gluten-free and always check the allergy information on each packet.
Leave a Reply